Repairing a jelly baby night light
Saturday, 16 January 2016
These jelly baby night lights are made of a tough, rubber-like plastic material.
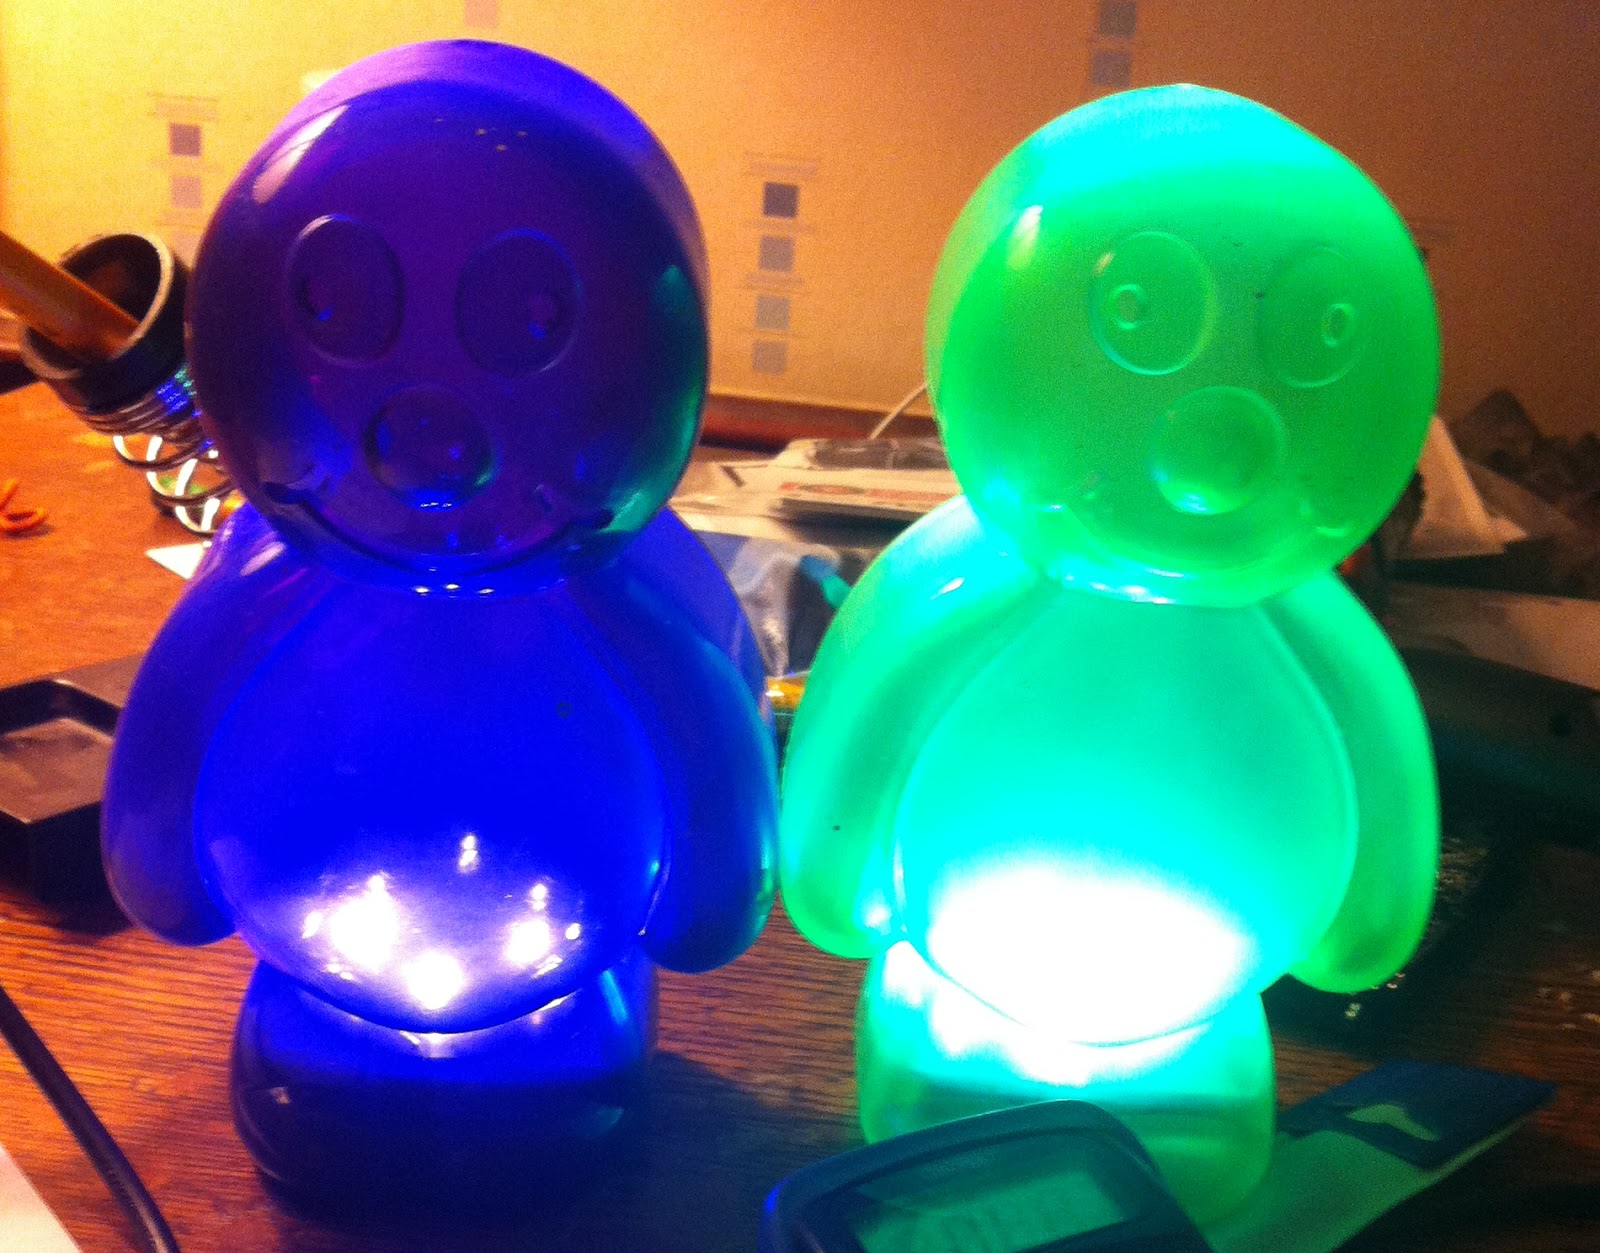
When my wife and I repaired two of these lights, we found two problems had caused the light to stop working. Fortunately both were quite easy to repair, using a soldering iron, solder, glue, a screwdriver and some wire.
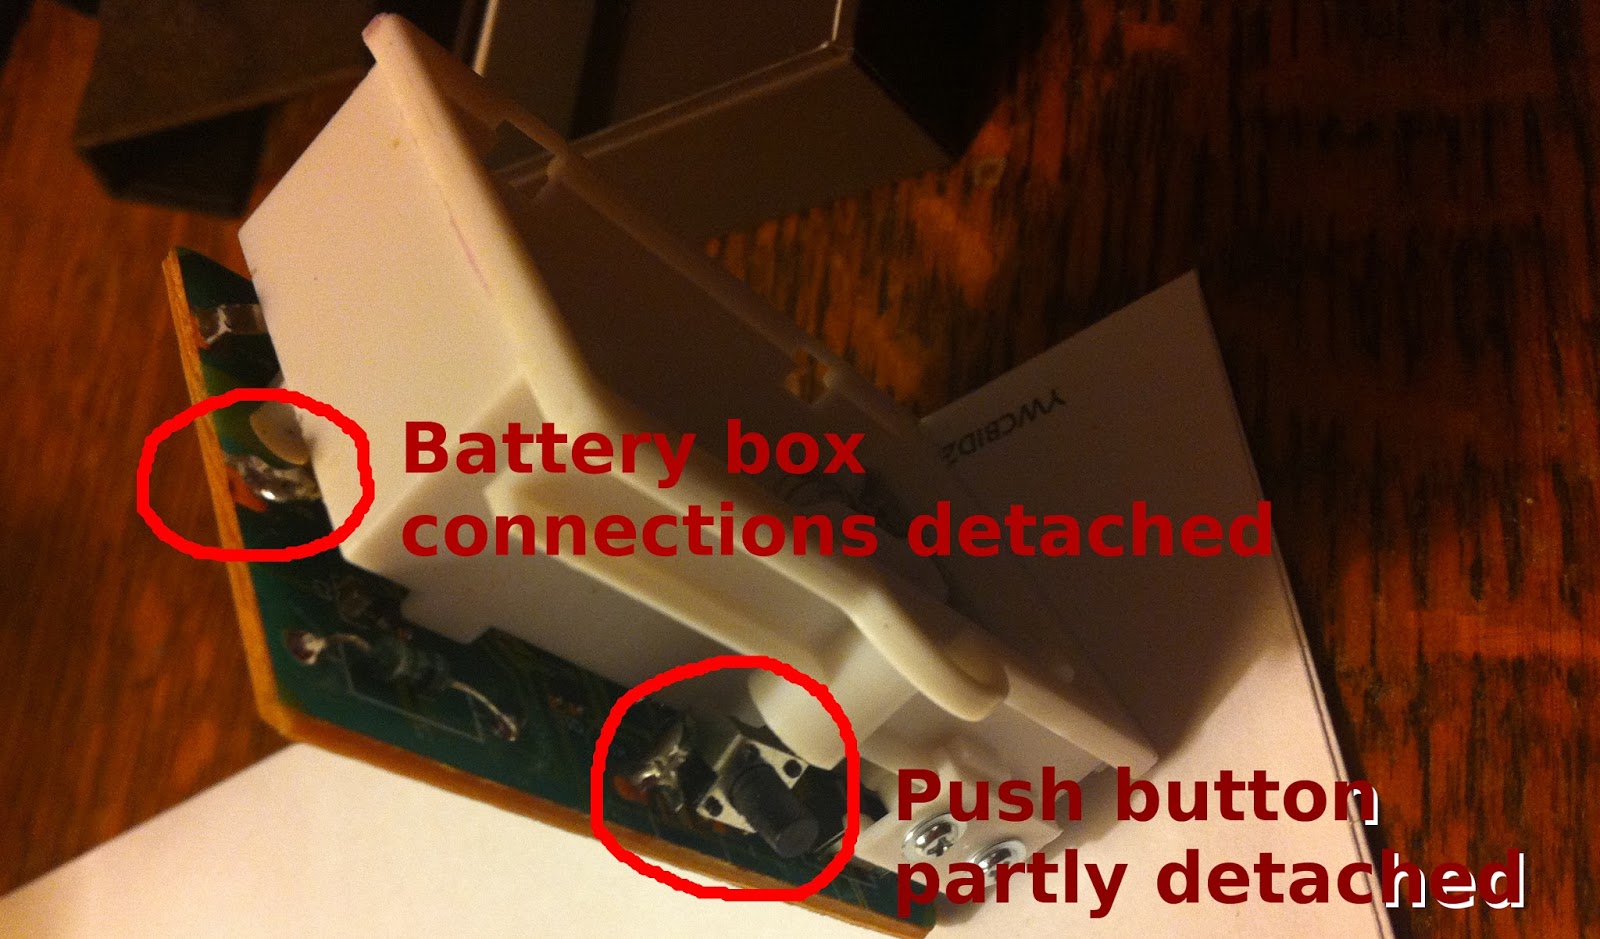
The broken parts were:
- The connections between the battery holder and the circuit board;
- The push-button switch which turns the light on and off.
Here are the electronic parts of the light, once removed from the shell:
In order to repair the jelly baby night light, we first prized the electronics out of the plastic shell using a screwdriver. The battery box and circuit board are screwed together and then glued to the plastic shell. But the glue is not very strong, and the flexibility of the shell means that it is quite easy to lever the electronic components out of their place.
The second step is to separate the battery box and circuit board by undoing two screws. If the battery box and circuit board were still connected, those connections would need to be broken at this stage. However, in both of the lights we repaired, the connections were already gone. They were destroyed because the circuit board and battery box are not perfectly joined together by the screws, and one may move slightly without the other.
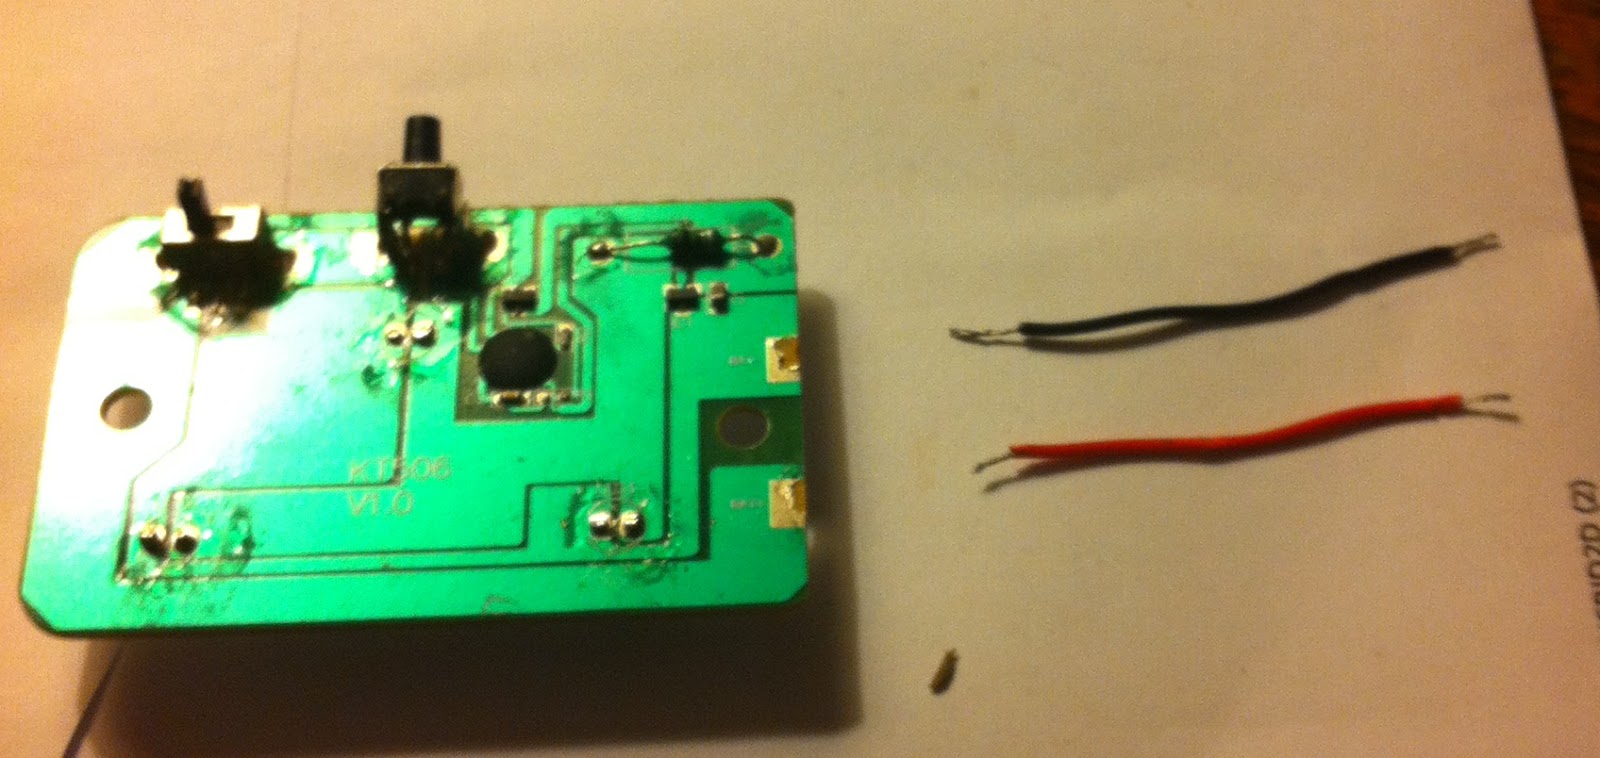
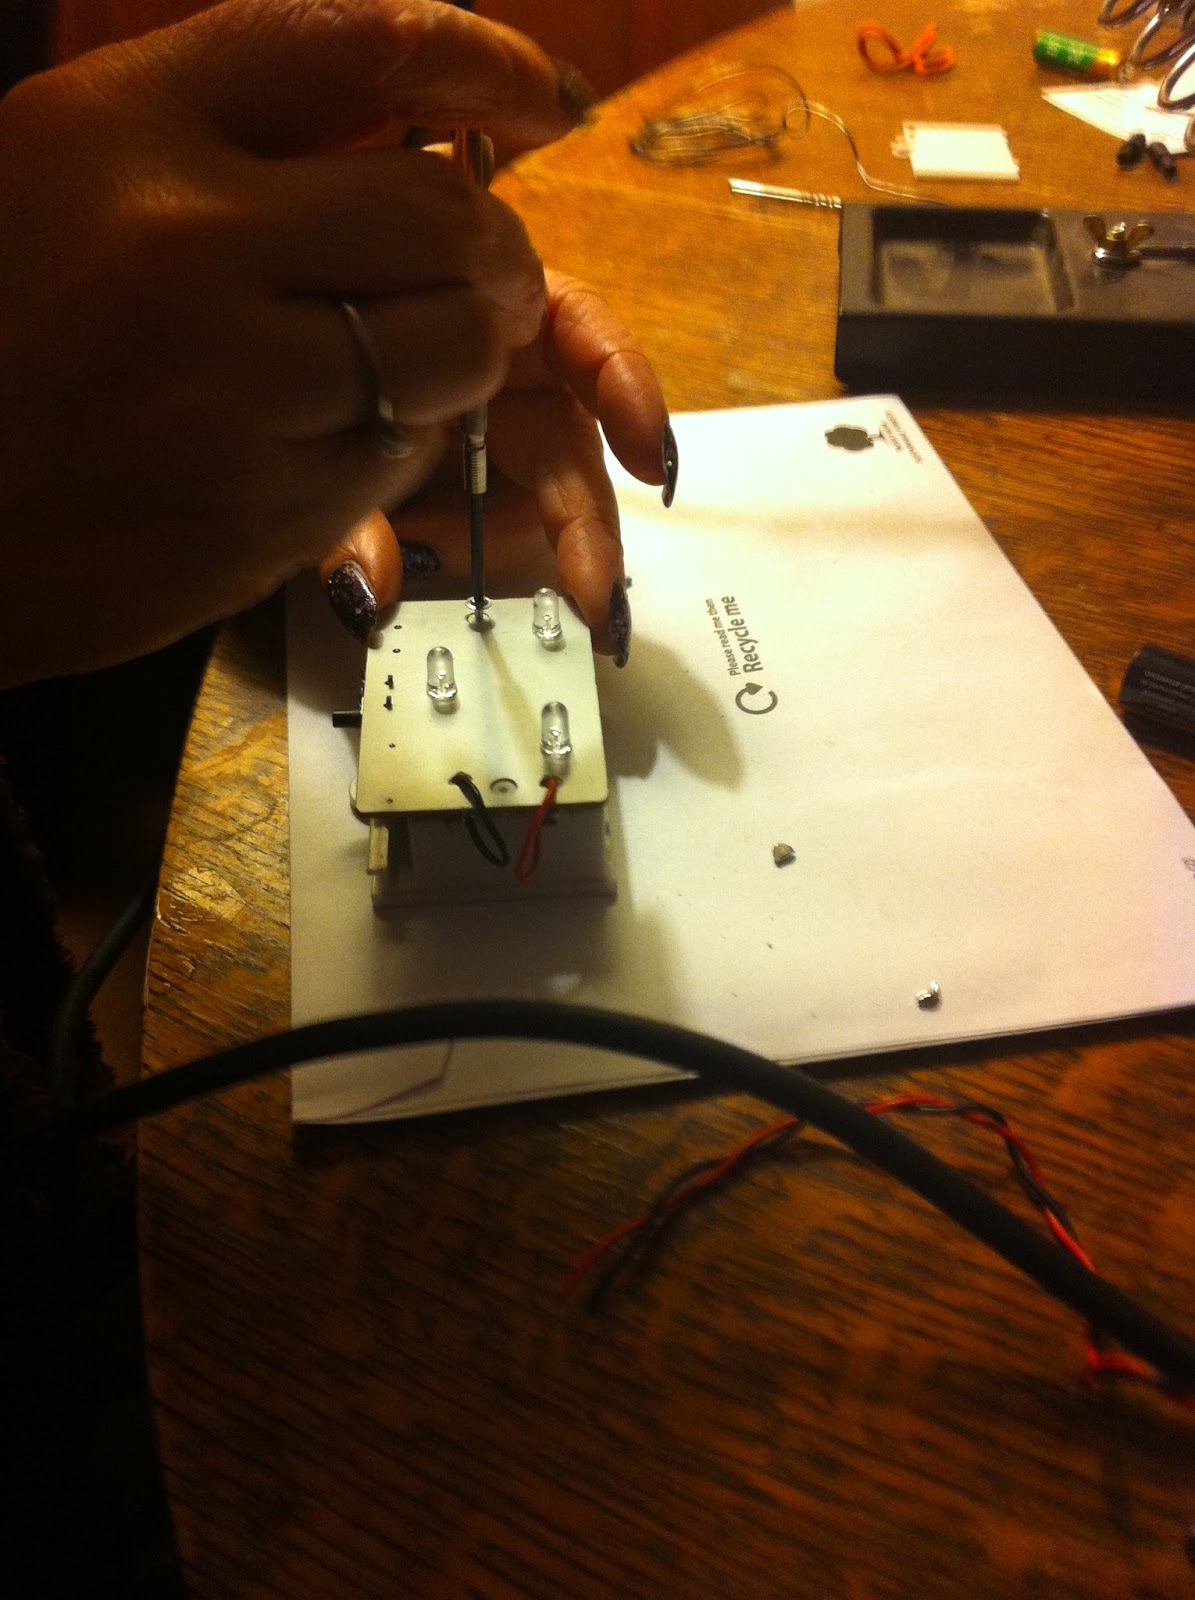
We repaired the connections with short sections (about 2-3cm) of insulated flexible wire. Almost any wire will do for this: it does not have to be thick, as the voltage and current are both very low. The new wires run from the circuit board to the battery box connections, and as they are flexible, they will not be broken if the battery box moves around. Here are the circuit board and the new wires before the joins were made.
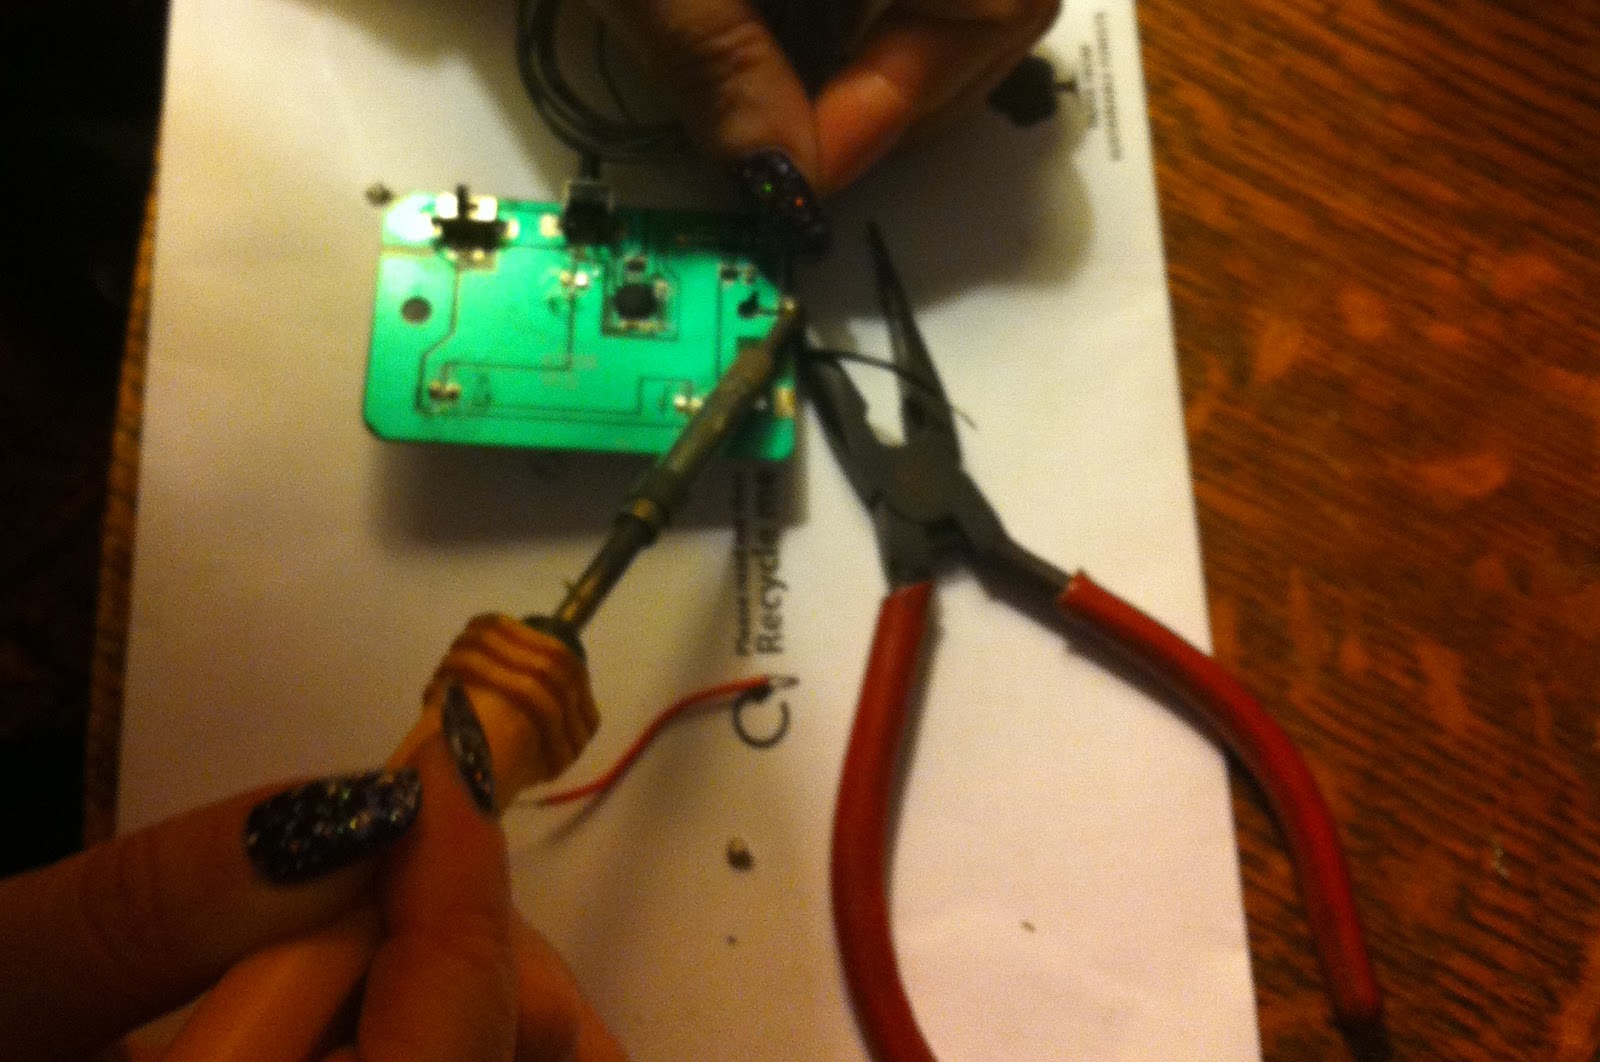
So as to make a more secure connection, I drilled two small holes in the circuit board and ran the new wires through them. This step is not required, so I'm leaving out the details of it. The main thing is to solder the new wires to the circuit board and battery box:
Once the connection is made the light should be tested. Put batteries in the battery box and switch the sliding switch to the "on" position. Having done this, the push button should switch the light on and off:
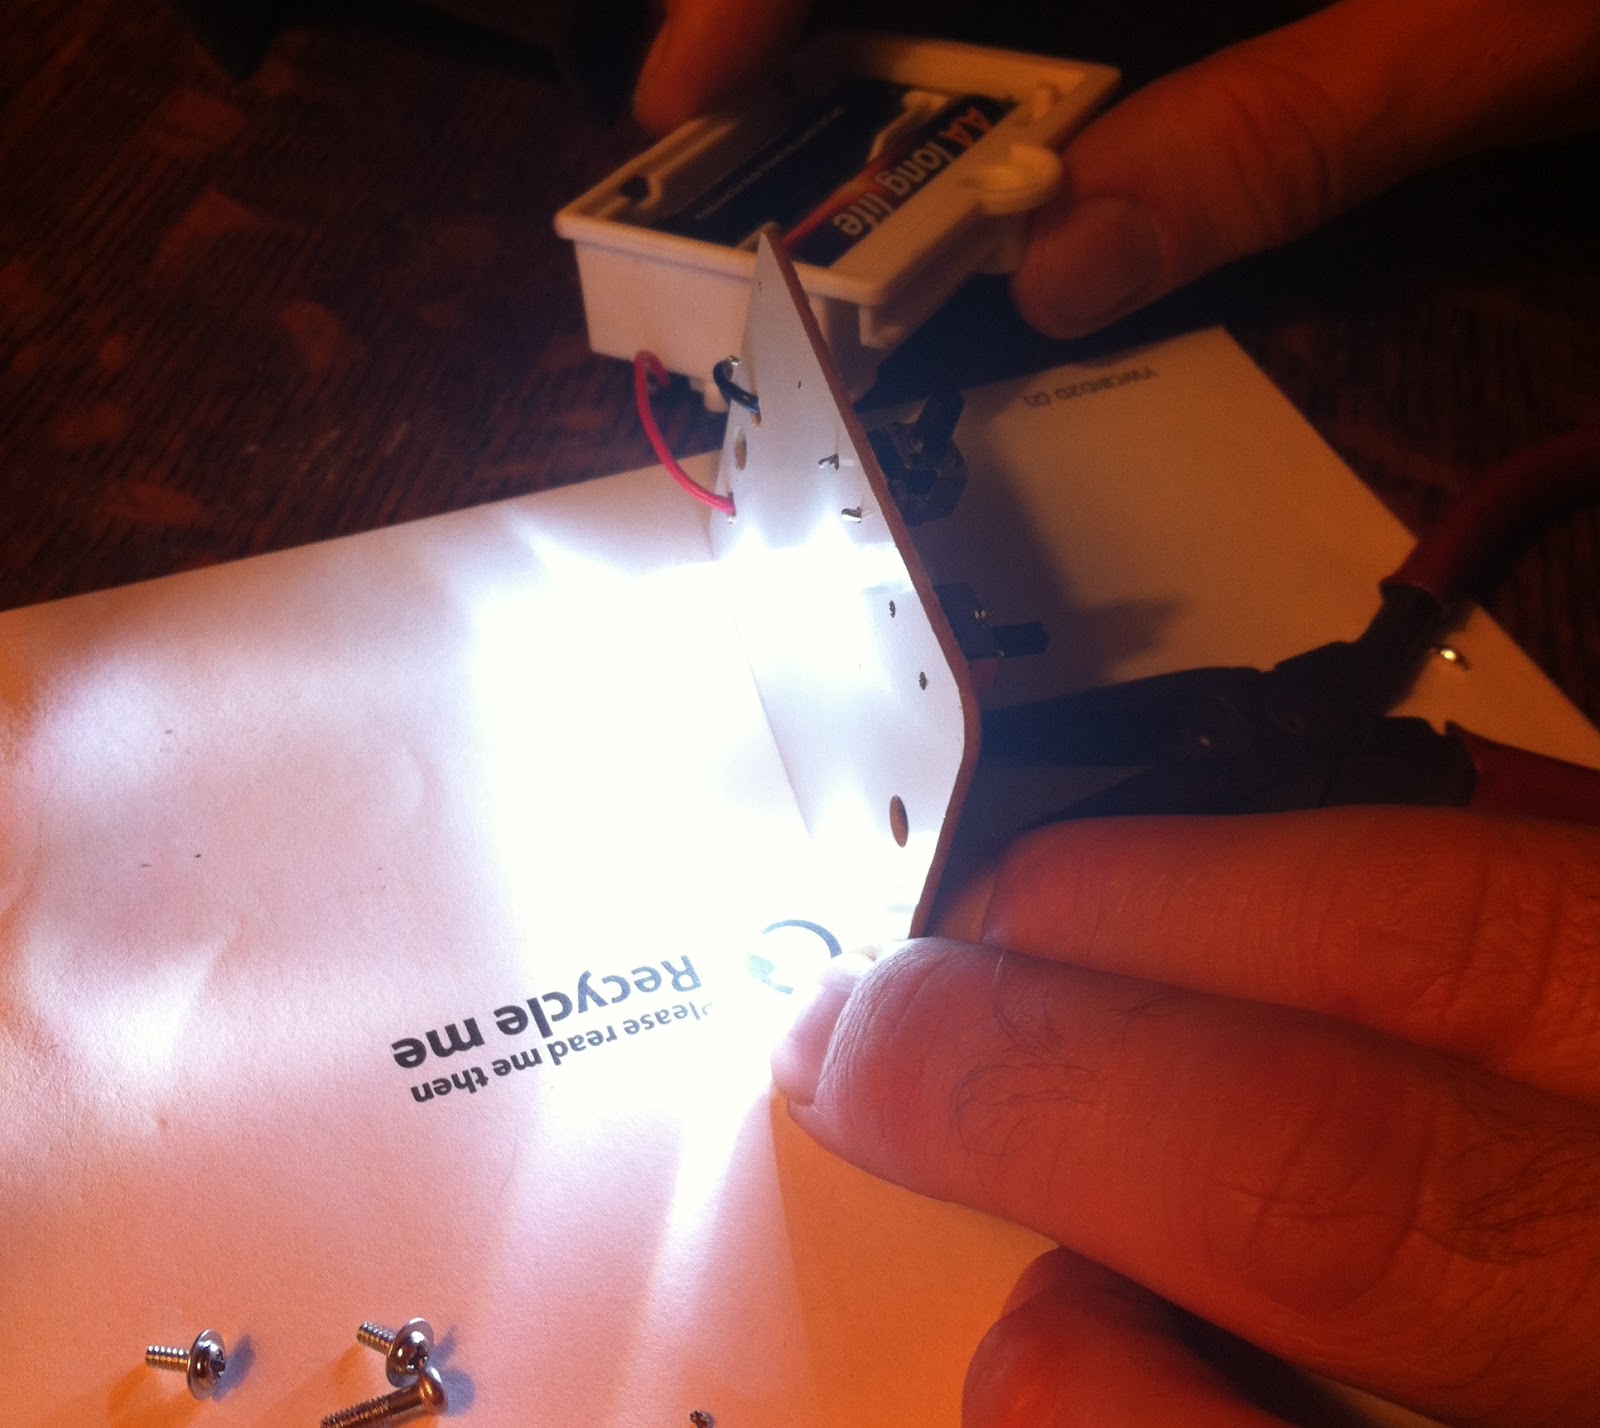
The push button is the second point of failure. It may be partially detached from the circuit board. You may need to reattach it with solder if it is not working, or not working reliably. You may even need to replace it entirely. If I had not been able to get it working again, my plan was to replace it with a tilt switch (which would turn the light on and off when tilted), avoiding the need to actually push the button. But this proved unnecessary as it was easily reattached.
The next step is reattach the battery box to the circuit board. Don't overtighten the screws.
You can protect the push button from future damage by wedging small strips of cardboard behind it. These go between the battery box and the push switch and should prevent it moving. Put as many in place as possible, so that when the button is pressed, there is no stress on the circuit board. Test again.
The final step is to glue the electronics back into the plastic shell. Before gluing, put the circuit board back into the shell and test it. Put the sliding switch in the "on" position before applying glue so that if you accidentally glue the switch mechanism, you have at least glued it in the working state!
The toys go back to their owners in a few days. We will see how long they remain working. I hope that the repairs are actually improvements, because the push button is now more robust, and the connections between the battery box and the circuit board are now flexible. Hopefully the lights will last a long time.